
Bath Cabinet
- Stephanie Rager
- Dec 29, 2019
- 3 min read
Updated: Aug 22, 2021


After Refinishing out bathroom I was in desperate need of a little stand that would fit between our toilet and bath tub. I knew It was going to be a rough search. The stand needed to be skinny and tall enough to fit, but still be useful! I looked in my lovely in house inventory (aka all the junk I have in storage from this years spring clean up). But… of course I didn’t have anything that would work. I shopped around for a week or so thinking I would have to buy a stand. I hate the thought of having to buy something new. When I buy something new I almost feel guilty for spending money just to flip it anyway to add my touch of taste!
After searching for a week or so, I remembered. There was I tiny stand at my parents house in out up stairs bathroom. I called up mom and asked if she still had that pink and white stand that use to be in the upstairs bathroom. She told me that it was sitting there collecting dust, as no one used the up stairs bathroom for quite a while since my sister and I moved out. I made my way down to my parents and picked up the stand! $Free . 99 is what I call that!

Now that I had something that would fit and that I could flip and put my own touch on I was ecstatic! Time to get started! I decided on a white chalk paint to match my bathroom! After cleaning the stand up and giving it a coat of paint, let it dry and then wax to seal it. It started to look so much better! I knew I couldn’t keep the pink drawers and the white ones liked a little rough from being used for years. I Used a light coat of a cheap spray paint just to freshen them up a little. the photo below shows the before and after (after on left and before on right).

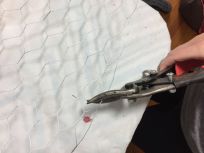
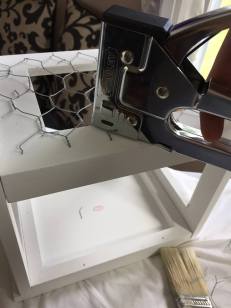
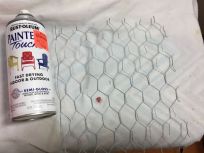
After cleaning up the drawers. I moved on to deciding what I was going to do a bout the pink drawers. I really did not want the stand to have all drawers, but the stand didn’t have actual shelves. I remembered I had some left over chicken wire from my last project. It was perfect! I knew that I didn’t need the shelves to be insanely strong, because I only needed them to hold some wash cloths and maybe a cute décor piece or two. I got to work, first I used teh spray paint to coat the wire, then I cut the chicken wire to the right size. I used a staple gun and staples, stapled all the loose ends into the bottom of the stand. I flipped the stand over and WA-LA! It was a perfect touch!


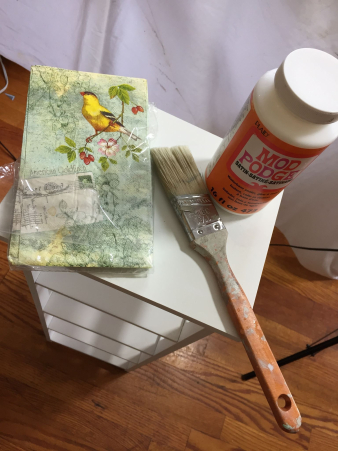
It was time to add my little touch of fun, so I grabbed my modge podge and went to work! the top of the stand was a little rough looking and I didn’t want to sand it down and have to use several coats of paint to hide all the flaws. So, deciding to modge podge something to the top was an easy decision to make. I dug through my little collection of papers, napkins, and other scraps until I found the perfect match! A napkin! Yes I said NAPKIN! I purchased these from the dollar store( great place to find stuff like this) just a few months ago and was dying to use them!


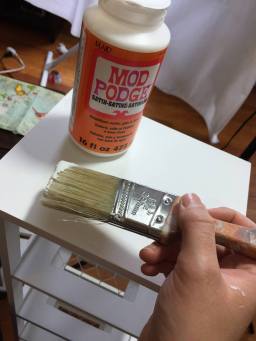
#1 : I coated the whole top in a coat of modge podge.

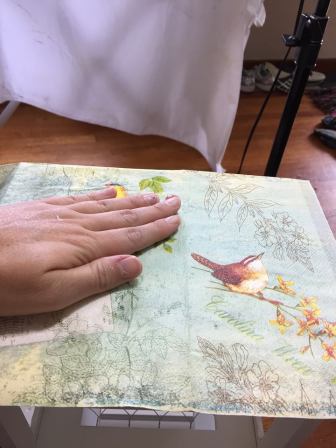

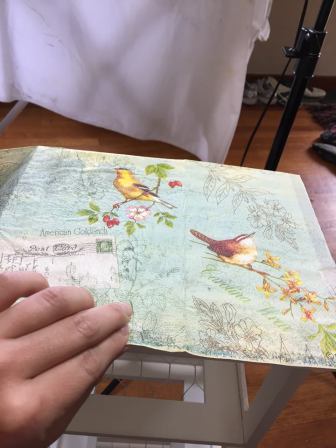
#2 : I placed the napkin down onto the sticky surface. Making sure that it was exactly where I wanted to be and then used my hand and smoothed over the whole surface.

#3 : I applied another coat over top of the napkin to seal and protect the surface so it could be used for everyday use without getting ripped and scuffed.


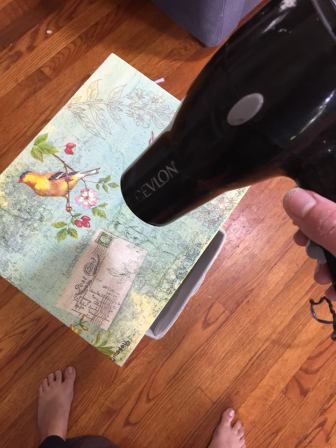
After applying the last coat of modge podge I put the damp drawers back into their places and used my hair dryer (because I’m impatient) and dried the drawers and top.
After fully dry, it was DONE!! I was so excited! Once again I saved money and enjoyed flipping another project!


Comments