
Rocking Chair
- Stephanie Rager
- Dec 29, 2019
- 2 min read
Updated: Aug 22, 2021

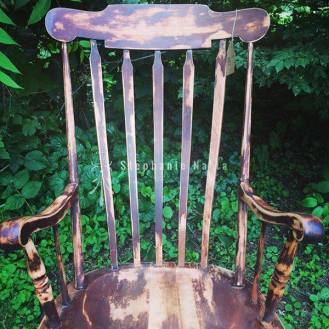


Todays project review! I picked this one up during spring cleanup. It was in pretty good shape, other than having a cracked seat. I knew I had to save this one! It was to good to let someone just throw it away. I knew it was going to be a pretty simple project to take on, so I started right away!


First I decided to sand it down to get it ready for some paint. I used a low grit sandpaper because some of the old finish was chipping off. I didn’t want there to be any chance of the new paint chipping off during its new life. I used and orbital palm sander on the seat and all flat parts of the chair. I then hand sanded the rungs, making sure to get into every crease to remove all the old chipping finish.

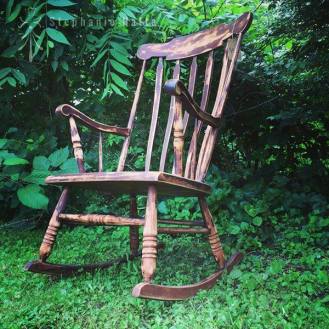
After sanding all the old chipped finish. I grabbed a tack cloth, wiped it down and stood back to try and decide what color of paint I wanted to go with. Then it hit me… IT WAS BEAUTIFUL! The colors, the beautiful old wood work showing! What was I thinking, I could NEVER cover this up with paint! After all, why not keep its original beauty! Why not let its charter show? Right? Let it stand out!
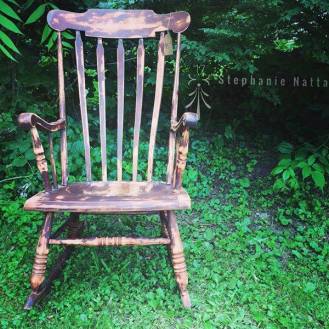
Now it was time to fix the split wood on the seat. I used wood glue and flowed it into the slot of the cracked wood. I then used a clamp to hold the two pieces together while I cleaned the extra glue from the seat. I let it sit over night to dry. The next day I used a paint brush and applied a few coats of minwax Polycrylic to seal and protect the surface of the chair from everyday wear and tare.
This project didn’t take long to refinish. Its the perfect example of how easy it is to take something that was junk and turn it into a gem!


Comments