
Miniature Chairside Table
- Stephanie Rager
- Dec 29, 2019
- 3 min read
Updated: Aug 22, 2021


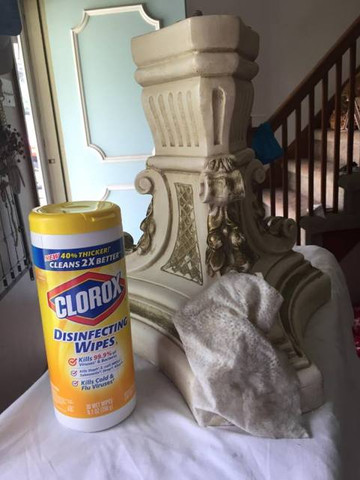
I found this little miniature table in someone’s trash on spring clean up. I hesitated to pick it up because it was in rough shape. I decided to grab it and figured if I couldn’t find something neat to do with it I’d just put it back out in my trash. I kept it for a while in my basement and finally, the other day I was looking to start a small project. Something that I could finish fast like a “week day project” and so I started on it!


First Step: I unscrewed the top and wiped down the whole table with some Clorox wipes.


Second Step: I then took all the screws and hardware off of the underneath of the table, removed the glass and backing board. I could see that the glass was completely cracked the whole way down and there was absolutely no saving it or reusing it, unfortunately.


Third Step : After everything was wiped down and taken apart, It was time to figure out what I wanted to do with this project. I started with picking a color. I wanted something natural and elegant looking to bring out it charter. I decided on using a chalk paint from Junk Monkey called “antique lace”. I loved it! The color was perfect! I only applied one coat with a chip brush and lightly went over the detailed parts. I didn’t want everything to blend and wanted the detail of the piece to stick out.


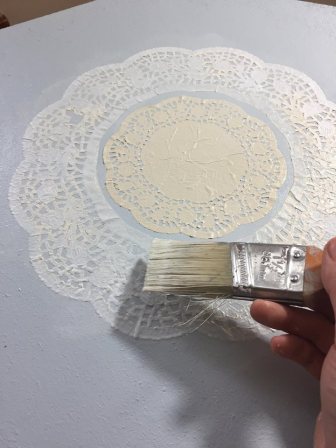
Now. I know I wanted to keep this project a table, but the glass was to destroyed to reuse and to pay for another piece to be cut to fit would take time and cost a pretty penny. If you know me I’m CHEAP so spending a pretty penny on just a piece of glass when I could find a creative and cheaper way to make this table beautiful again was silly! I took a night and went to my favorite place, Lowes! I looked at time, flooring, and even frosted window clings. I had no clue of what to do with the top. everything was so expensive! Finally I decided to paint the top and use my good old favorite thing to use (Modge Podge). I found some doilies and wanted to make a elegant design in the middle of the table top to give it that elegant style.
Fourth Step: Time to paint again! I wanted to bring out the blueish/ gray in the detailed pedistol of the table, so I went on a paint hunt. I didn’t have any chalk paint that color, so I had to use a regular acrlic paint. Nothing wrong with that! I got to painting! I did a total of 3 coats on the table top and dried each coat with my handy-dandy hair dryer!


Fifth Step: After the whole top was painted it was time to get the doilies ready. I didn’t want to use white doilies, thinking it would clash with the antque lace color on the pedistol… So I decided to also paint the doilies with the antique lace chalk paint.

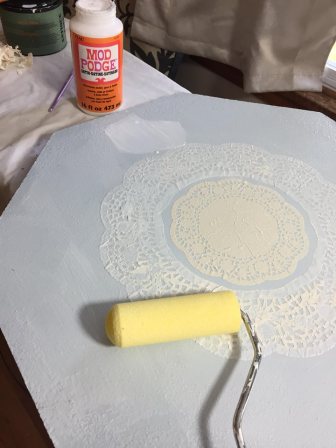
Sixth Step: Time to Modge Podge! After everything was dry I place the doilies onto the table top and decided exactly where I wanted them. I then Coated the table top with modge podge and paced the doilies . I then proceeded to do another coat over top the whole top using a foam roller. The foam roller works great for pushing out extra modge podge and pressing the doilies down flat without ripping or tearing them. I did three coats total! I also did a quick coat of Minwax Polycrylic and a coat of wax on the pedestal. This helps seal and protect the doilies and table top. Getting it ready for every day table top use.


After the last coat of modge Podge it was done! I reassembled the top and stood back to enjoy my finished project! Wooo!


Comments